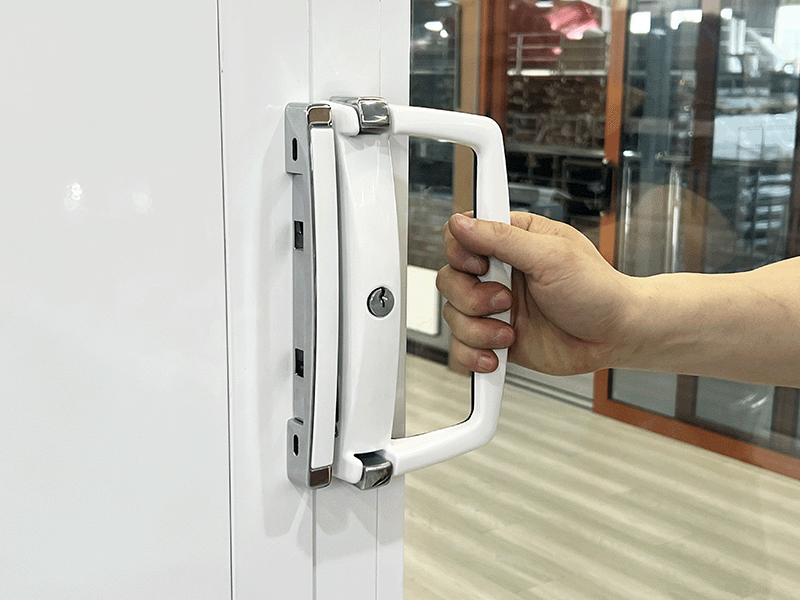
How to Install the Handle for a Sliding Door
- Share
- publisher
- Benson
- Issue Time
- May 29,2026
Summary
Learn how to install a handle for a sliding door with this step-by-step guide from ROPO. Follow simple instructions for positioning, spindle alignment, and secure fixing to ensure smooth operation and reliable locking for aluminium or uPVC door systems.
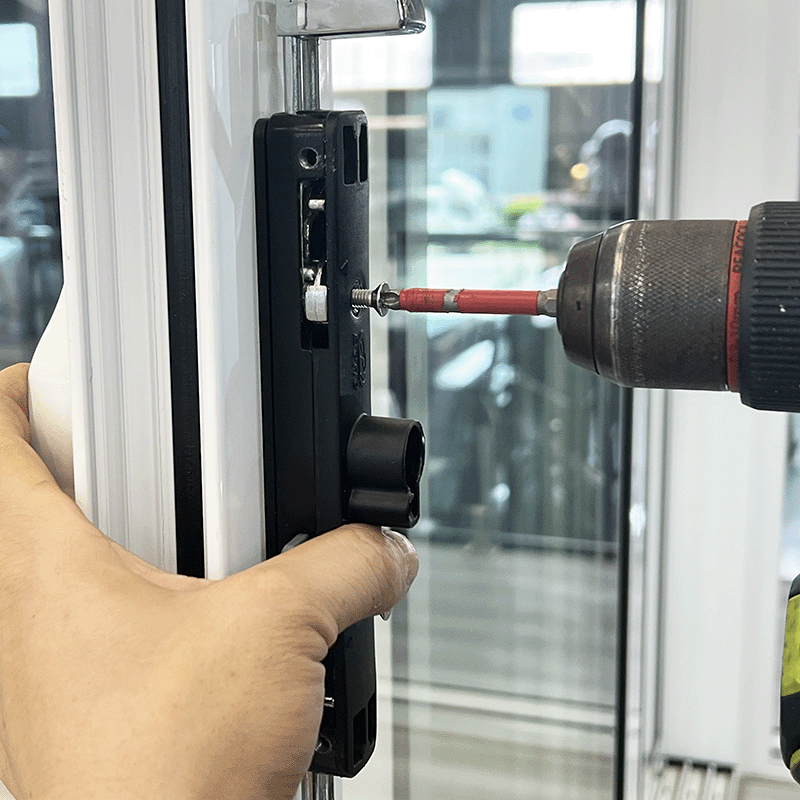
A common issue on sliding doors is that how to install the handle for a sliding door. Read our guide below on how to rectify this problem.
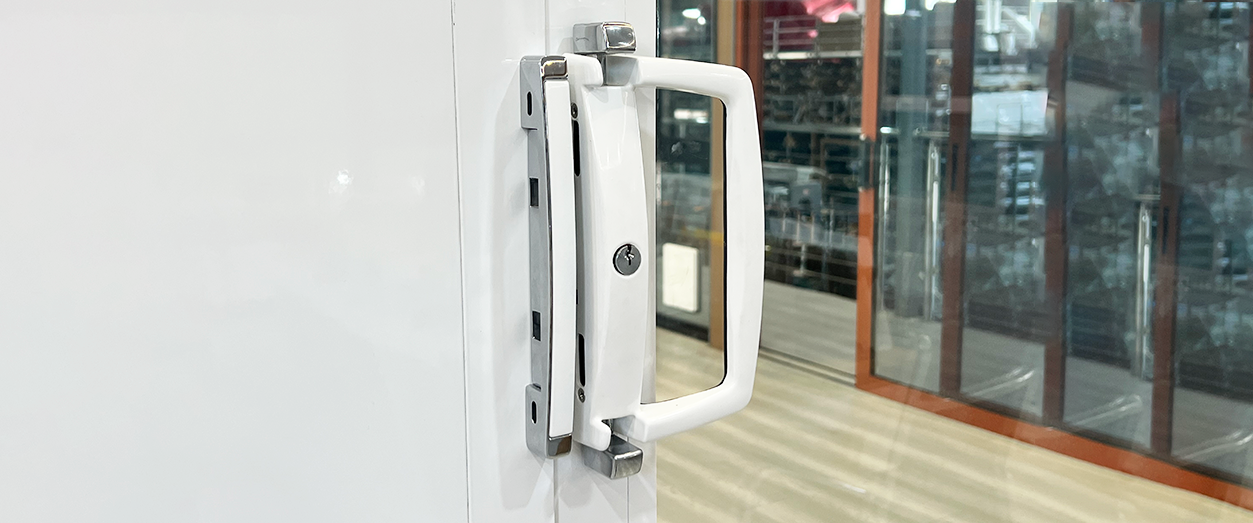
ROPO demonstrates the professional installation process of a sliding door handle on aluminium doors.
From precise hole positioning and handle alignment to secure screw fixing, this step-by-step guide shows how to ensure smooth operation, structural stability, and long-term durability.
Ideal for builders, contractors, window suppliers, and homeowners looking for reliable aluminium door hardware and professional installation standards.
Watch our ROPO Expert below, to see how to install the handle for a sliding door.
| Tools you will need | Duration |
| Electric drill or Screwdriver | 10 minutes |
How to Install The Handle for a Sliding Door
Follow the simple steps below to correctly install the handle on your sliding door. This guide shows how to align the handle with the pre-drilled holes, insert the spindle into the mechanism, and securely fasten the screws to ensure smooth operation, stability, and reliable opening and closing of the door.
Step 1
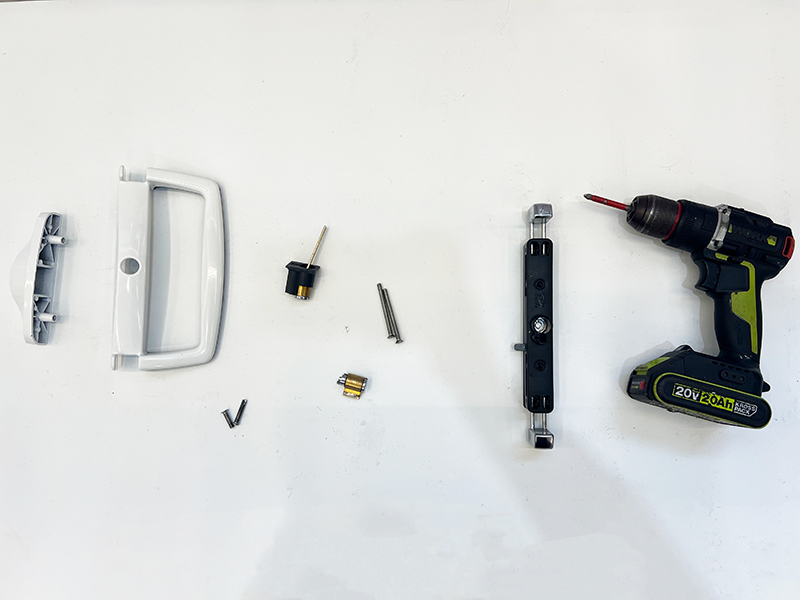
Accessory needed: Handle, handle spindle, handle screw sleeves, handle screws, lock cylinder, lock cylinder screw,electric drill or Phillips screwdriver.
Step 2
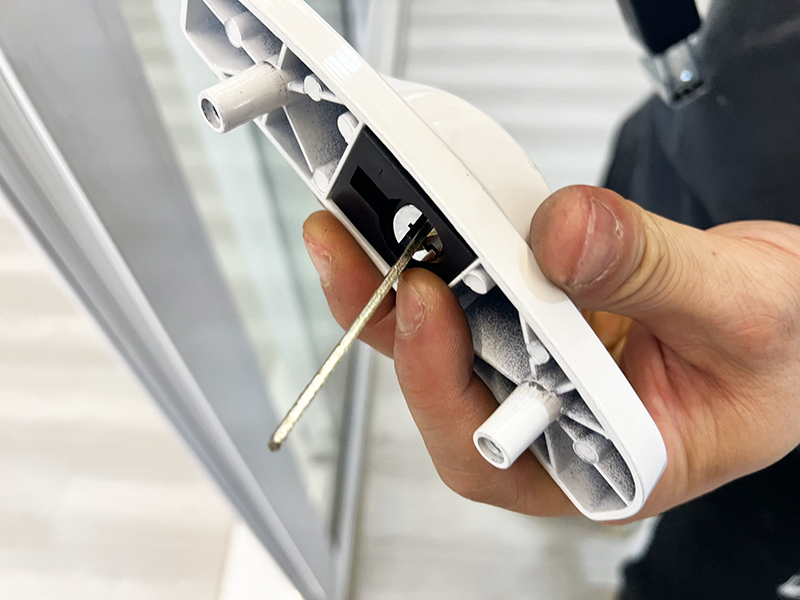
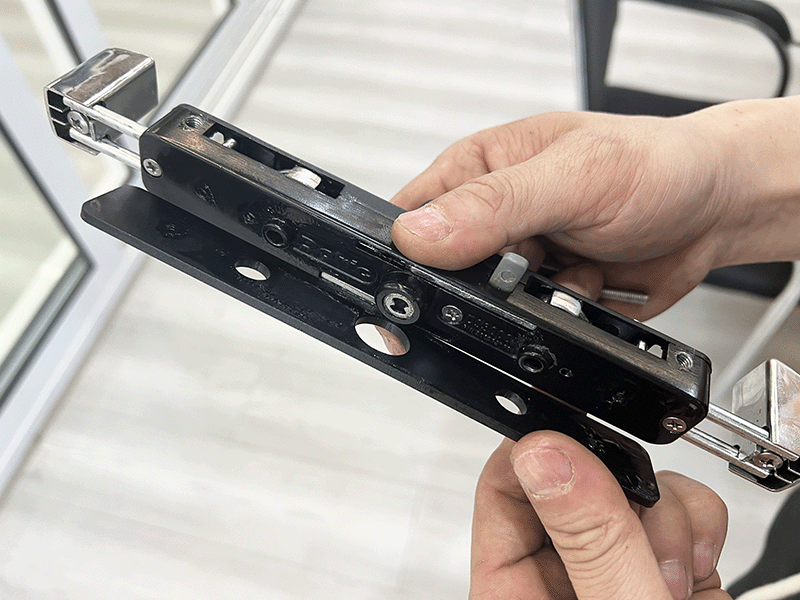
First, install the lock cylinder into the exterior handle.
Step 3
Install the handle base on the interior side, including the spacer.
Step 4
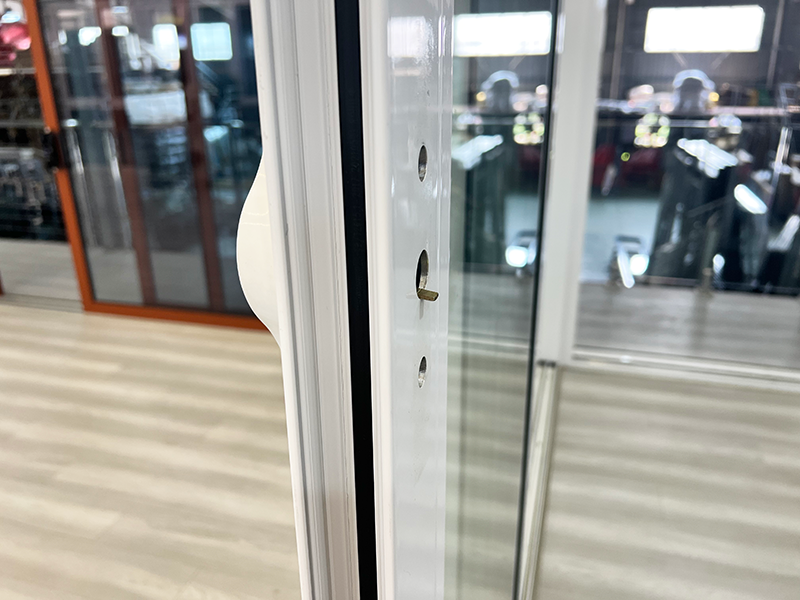
Install the exterior handle, passing the long tailpiece
through the profile.
Step 5
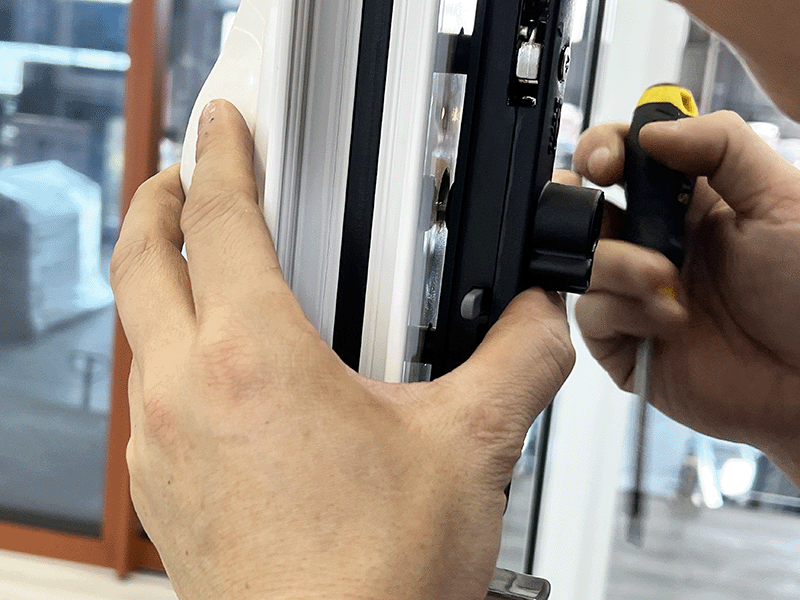
Handle base on the upper interior side.
Step 6
The screw that securely connects the exterior handle from
the interior side.
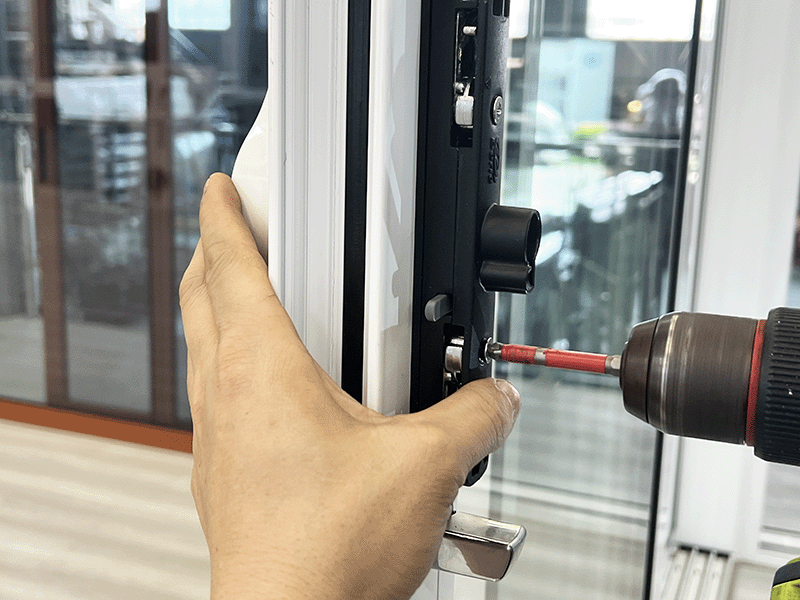
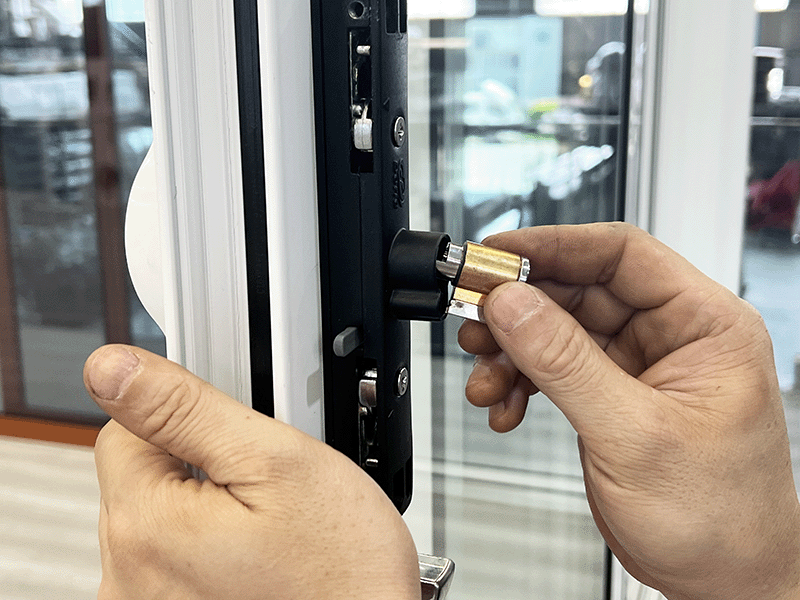
Step 7
Install the lock cylinder on the interior side.
Step 8
Attach the handle..
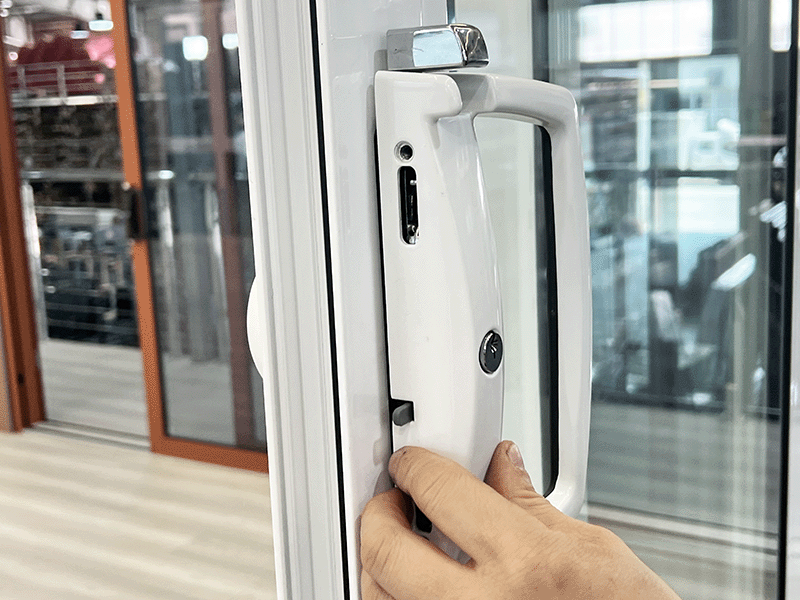
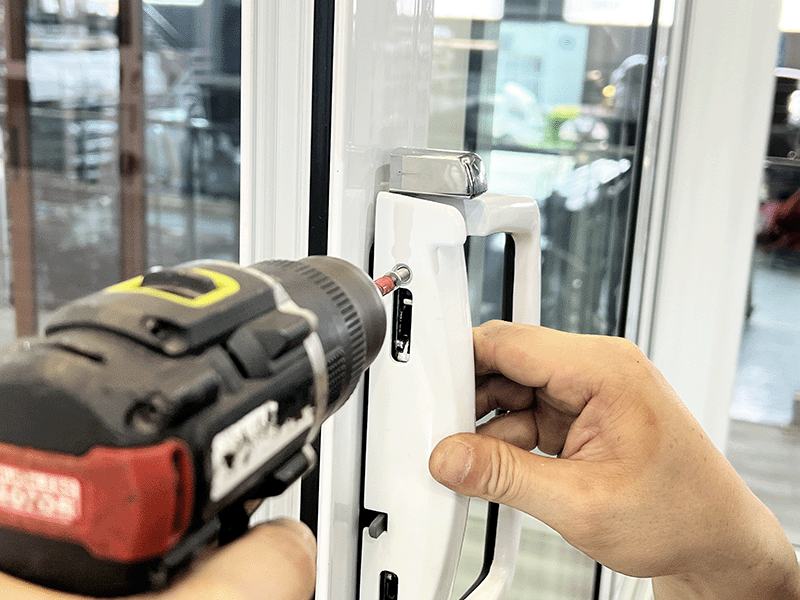
Step 9
Finally, secure the handle screws.
Step 10
Testing and adjustment: Operate the handle to open and
close the door.