How to Measure Window and Door Openings: Hole Size, Frame Size and Installation Gap Explained
- Share
- publisher
- ROPO Windows
- Issue Time
- Sep 11,2026
Summary
Ordering custom windows and doors starts with a single set of numbers, and getting them wrong is the most expensive mistake in the project. This guide explains the three sizes every buyer needs to understand — the rough opening, the finished frame size and the installation gap — then shows how to measure each one, what clearances to leave for uPVC and aluminium, and which figure to send the factory when you order. Measure once, order right, install without surprises.
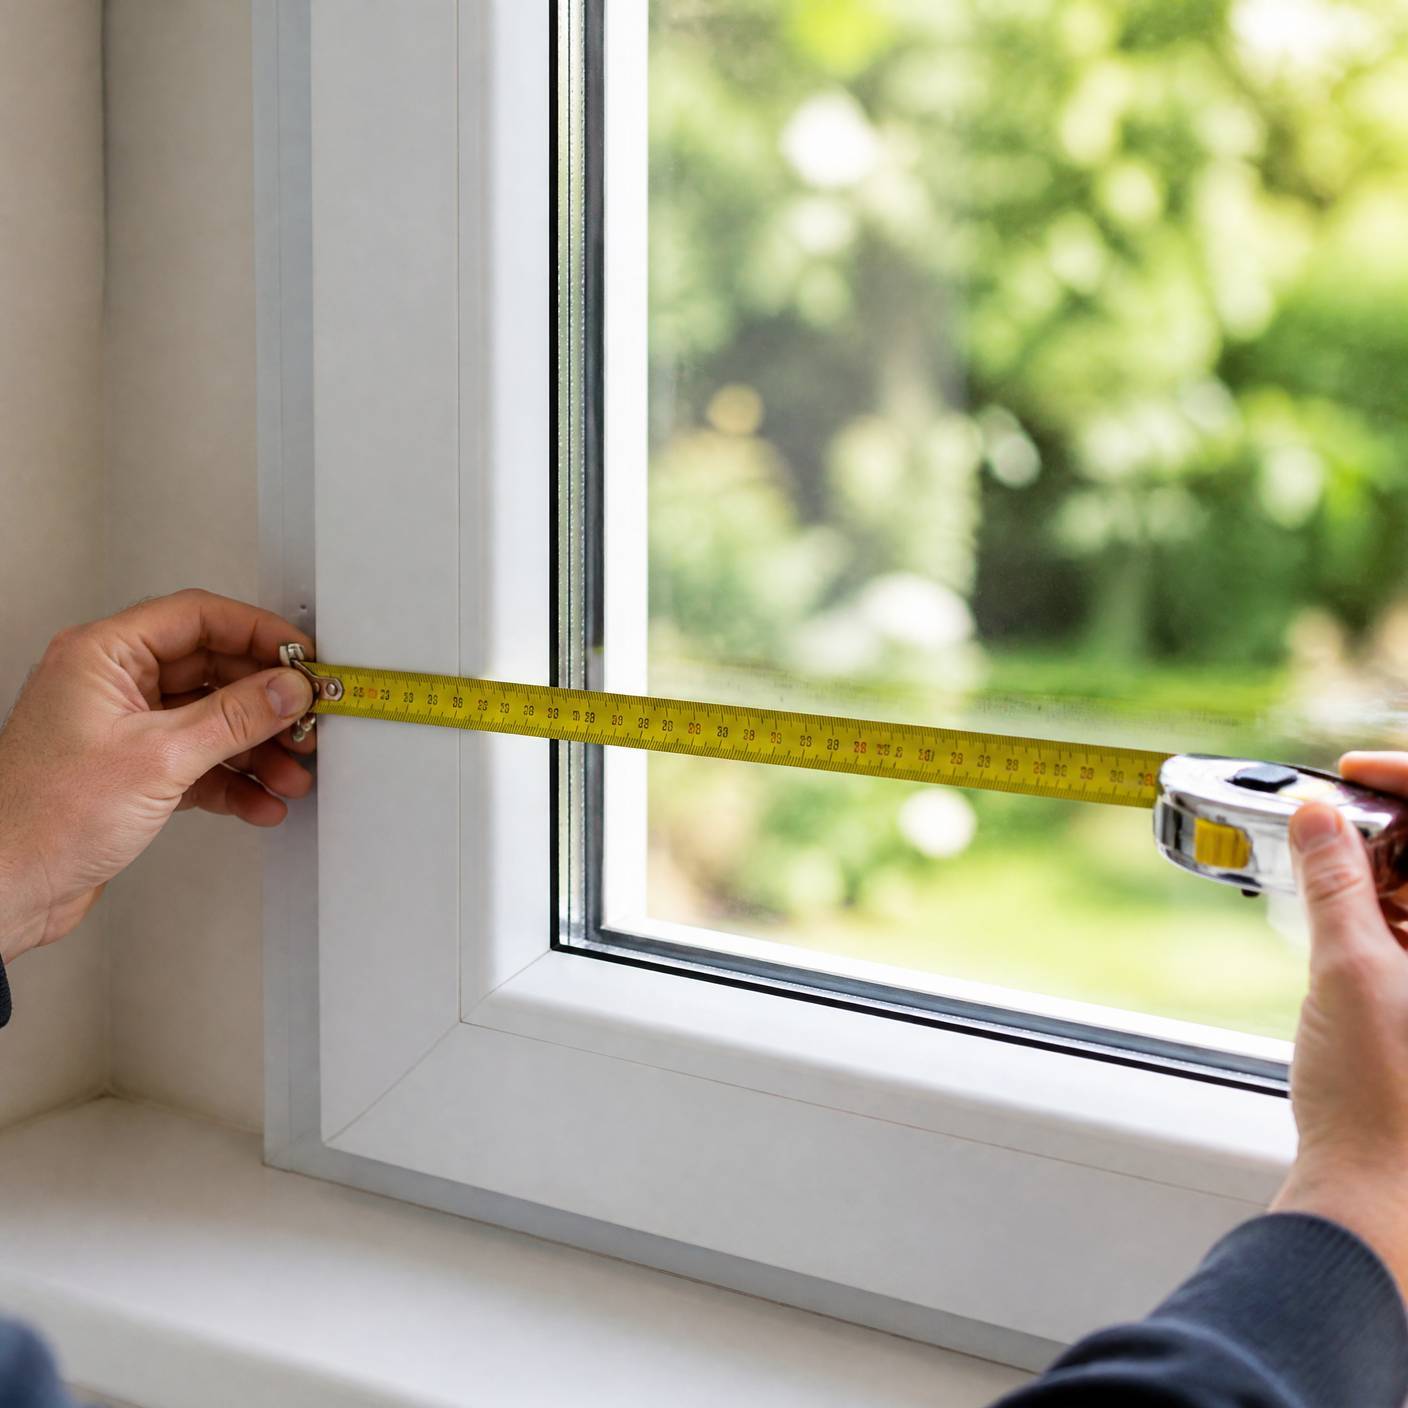
Almost every failed window or door installation can be traced back to the same root cause: a number that was measured in the wrong place. The opening was measured where the plaster bulges instead of where the frame will sit. The height was taken from the finished floor instead of the structural sill. The width was copied from an old window that had already been patched and re-puttied twice. When the new unit arrives, it does not fit — and at that point the fix costs more than the window.
This guide is about getting the numbers right before you order. It explains the three sizes that every custom window and door project depends on — the rough opening, the finished frame size and the installation gap — and shows exactly how to measure each one, what tools to use, how to check for squareness, what to do with irregular openings, and which figure to send the factory when you place an order. It is written for homeowners planning renovations, builders running new constructions, and importers who order custom uPVC and aluminium windows from manufacturers in China.
Three Sizes, One Project: Hole Size, Frame Size and Installation Gap
Before touching a tape measure, you need to know which size you are actually measuring. Confusing these three figures is the single most common source of ordering errors.
Rough opening. This is the structural hole in the wall left for the window or door — the clear space between the masonry, timber studs or blockwork that surrounds the unit. It is the hole the installer fills. In a renovation, the rough opening is often hidden behind old frames, architraves and render, so measuring it usually means measuring the visible reveal and accounting for everything between the reveal and the structure.
Finished frame size. This is the overall outside dimension of the window or door unit itself — the width and height of the frame measured from the outside edges of the outer frame members. This is the number the factory builds to, and the number that must fit inside the opening with room to spare on every side.
Installation gap. The difference between the rough opening and the frame size, distributed around the perimeter of the unit. It is not wasted space; it is the working allowance that lets the installer position the unit, level it, fix it securely, and seal it against water and air. Getting the gap right is what separates an installation that lasts decades from one that leaks in the first storm.
The relationship is simple: rough opening = frame size + installation gaps (plus any tolerances for out-of-square openings). If you can measure two of the three figures, the third is arithmetic — but only if all three are defined the same way, on the same plane, with the same units. Browse the custom windows and custom doors ranges to see how ROPO quotes frame sizes on its product lines.
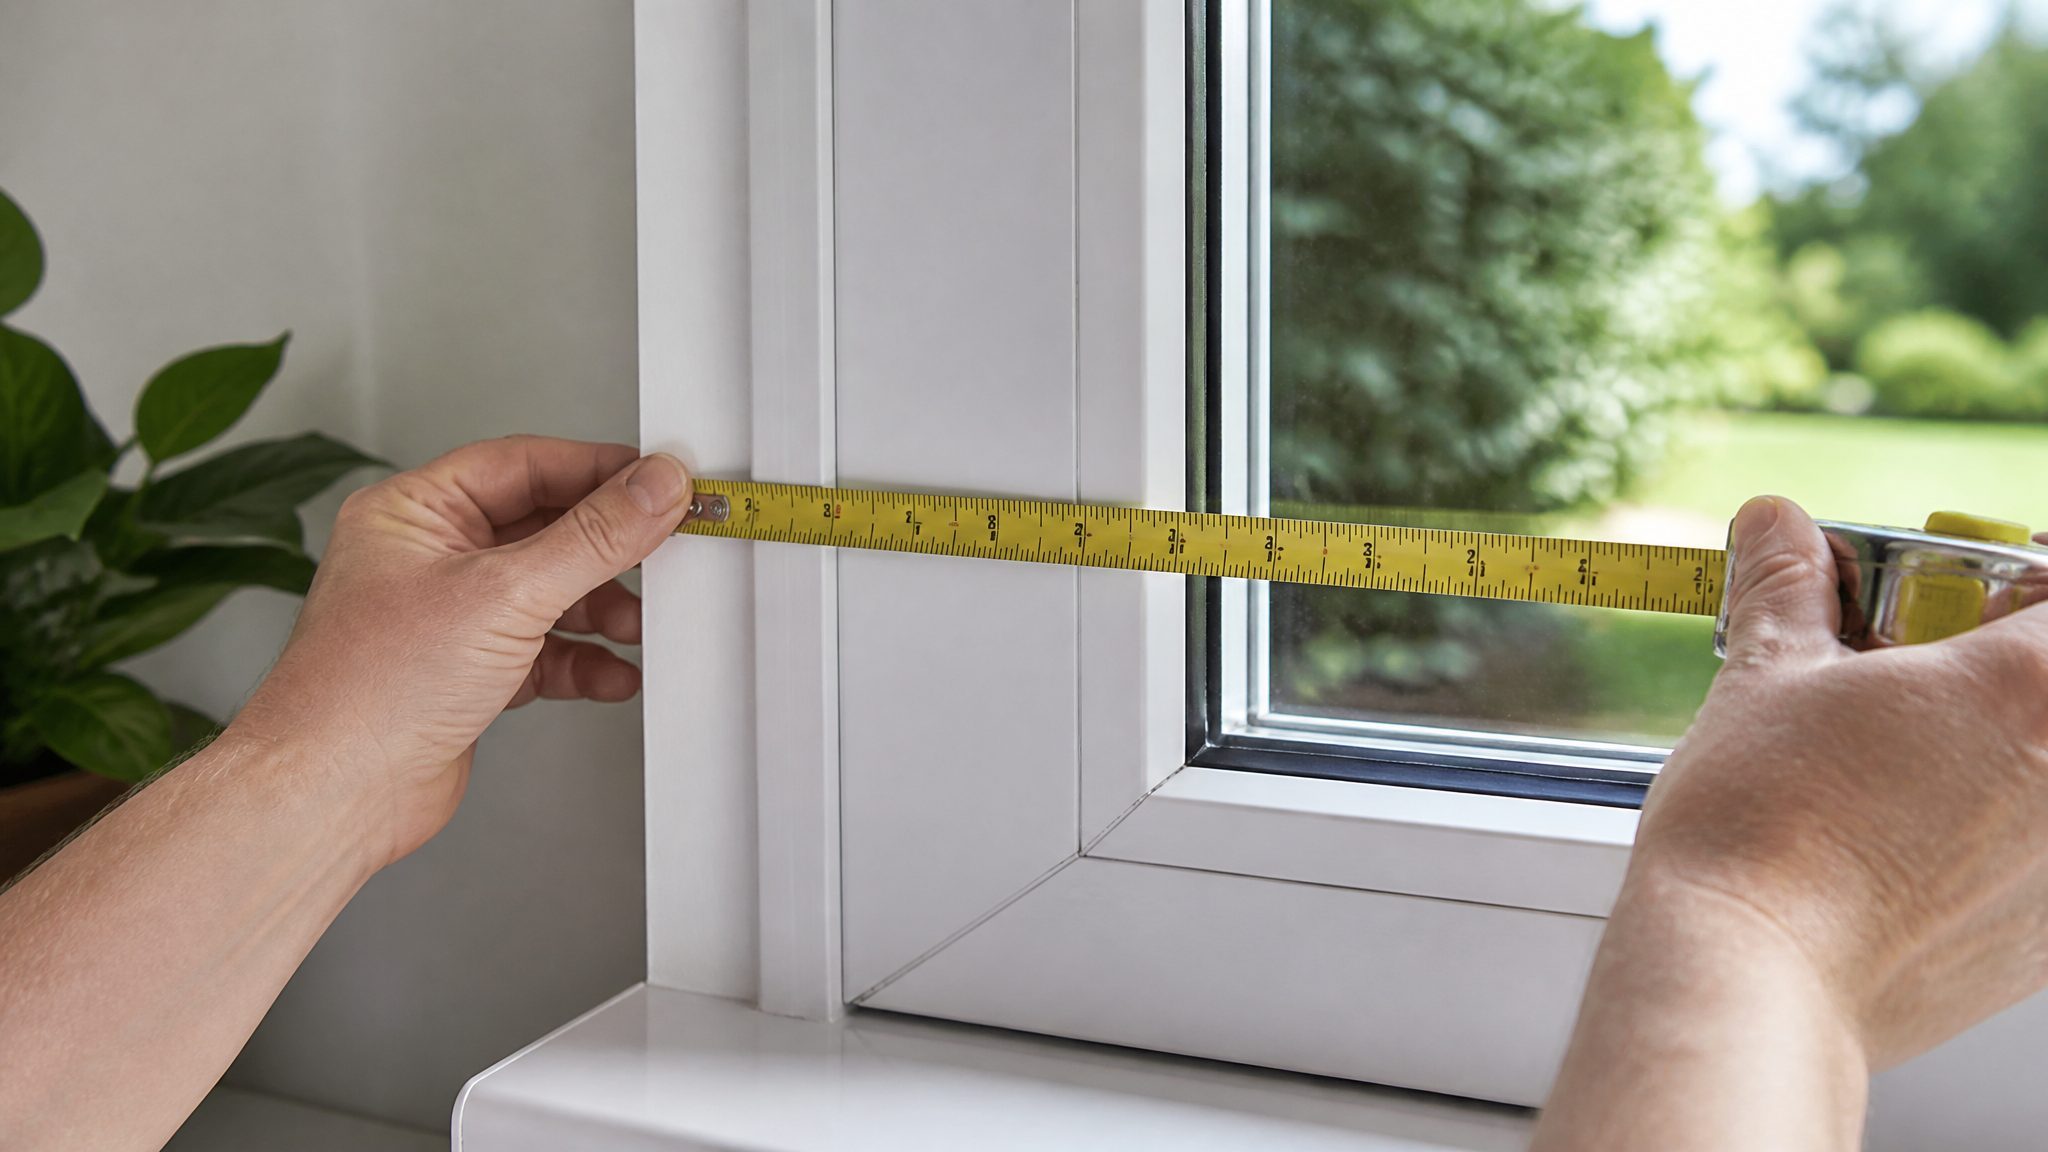
Why the Installation Gap Is Not Just "Extra Millimetres"
Beginners tend to treat the gap as a safety margin — a bit of slack in case the measurement is off. In a professionally installed window, the gap does four distinct jobs, and each one needs a different amount of room.
Movement. uPVC and aluminium both expand and contract with temperature changes. A dark-coloured aluminium frame in direct sun can move several millimetres across a large span, and uPVC frames move more than aluminium. The gap absorbs that movement so the frame never pushes against the surrounding wall hard enough to distort, buckle or crack the glazing seal.
Fixing. The installer needs space to insert packers and shims under and beside the frame to set it level and plumb, and to drive fixings through the frame into the structural opening. Fixings driven tight against the masonry with no working room are a common cause of cracked frames and failed seals.
Waterproofing and drainage. The gap is where the waterproofing membrane, flashings and sealants live. A window with no gap forces the installer to rely entirely on surface sealant, which is the weakest possible defence against wind-driven rain. A proper gap lets the frame be set back in the opening, flashed over the top, drained at the bottom and sealed around the perimeter — the layered system that Australian and New Zealand building practice expects, and the reason AS2047-compliant testing is only part of a weatherproof installation.
Thermal bridging. With a gap, the frame can be thermally isolated from the structure with foam backer rod or insulating strips, stopping cold and heat from travelling straight through the wall. Packing the frame tight against the masonry turns the frame itself into a thermal bridge.
None of these jobs can be done properly with a zero-gap or "snug fit" installation. If a supplier tells you the unit should fit with no clearance, treat that as a red flag rather than precision engineering.
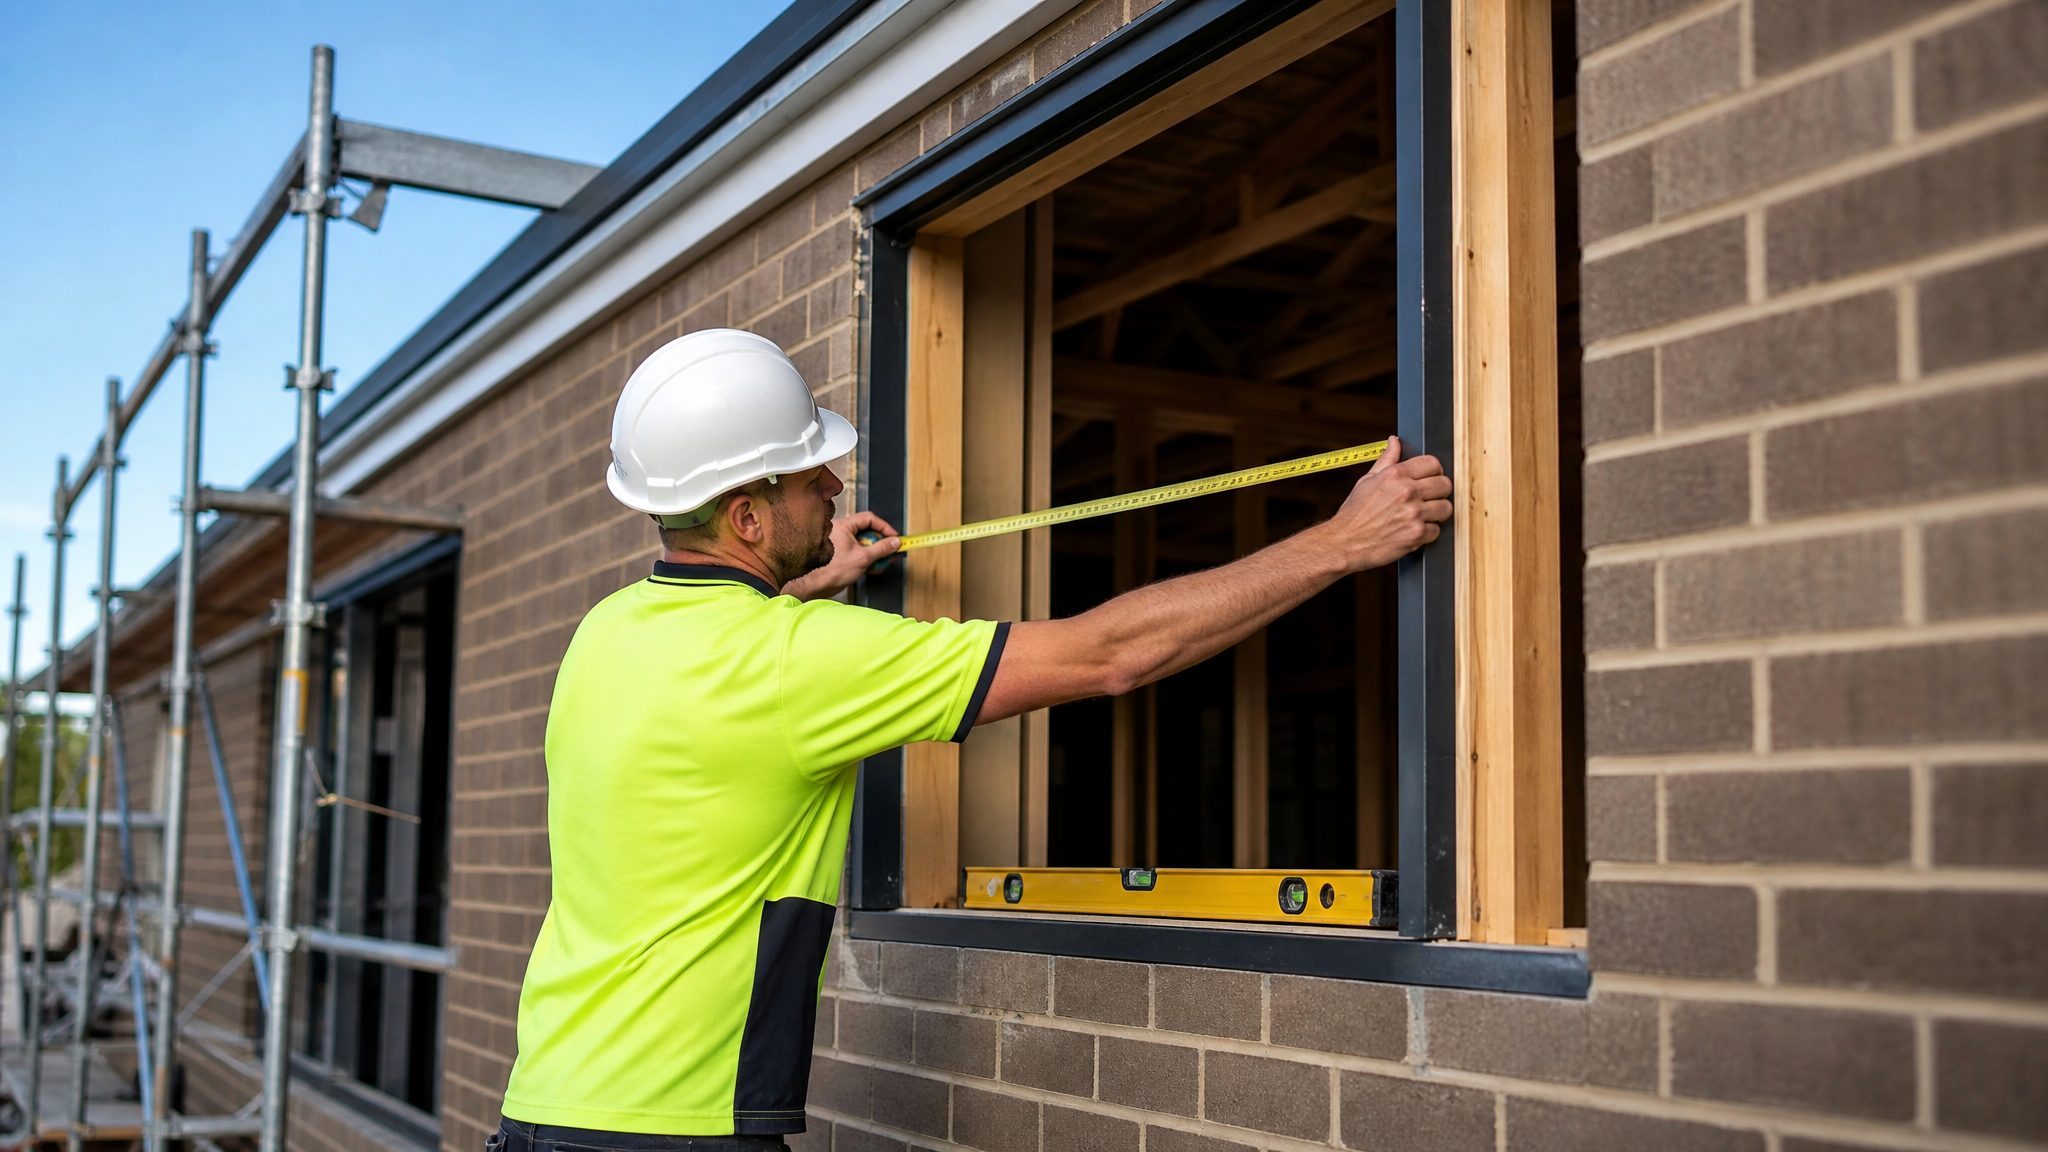
How to Measure the Rough Opening: Width, Height and Squareness
Measuring starts with the right tools: a metal tape measure at least 5 m long, a spirit level (or a smartphone with a level app), a pencil, a notepad, and a step ladder for anything above shoulder height. Do not use a fabric tape, and never estimate.
Width — three points, smallest wins. Measure the width of the opening in three places: near the top, in the middle, and near the bottom. Place the tape between the inside faces of the jambs, at the plane where the new frame will actually sit — for a reveal installation that is the innermost face of the jamb, not the edge of the plaster. Record all three readings and use the smallest as your working width. Openings are rarely perfectly parallel; the smallest width is the only one the frame is guaranteed to clear.
Height — three points, smallest wins. Measure the height on the left side, in the centre, and on the right side, from the sill (or the finished floor level for doors) up to the head. Again, record all three and use the smallest. For doors, confirm whether the height is to the finished floor or to the structural threshold — this single ambiguity causes more door ordering errors than any other.
Squareness — diagonal check. Measure the two diagonals of the opening, from top-left to bottom-right and from top-right to bottom-left. If the diagonals differ by more than about 10 mm on a standard opening, the opening is out of square — common in older houses and after settlement. An out-of-square opening does not mean you need a smaller window; it means the frame size must be reduced enough to allow the gap to absorb the skew, or the opening must be trued up before installation. Note the difference on your sketch so the installer knows what they are walking into.
Record every reading on a sketch of the opening, with arrows showing where each measurement was taken. A photo of the sketch taken with your phone is the cheapest insurance against losing the numbers before you order.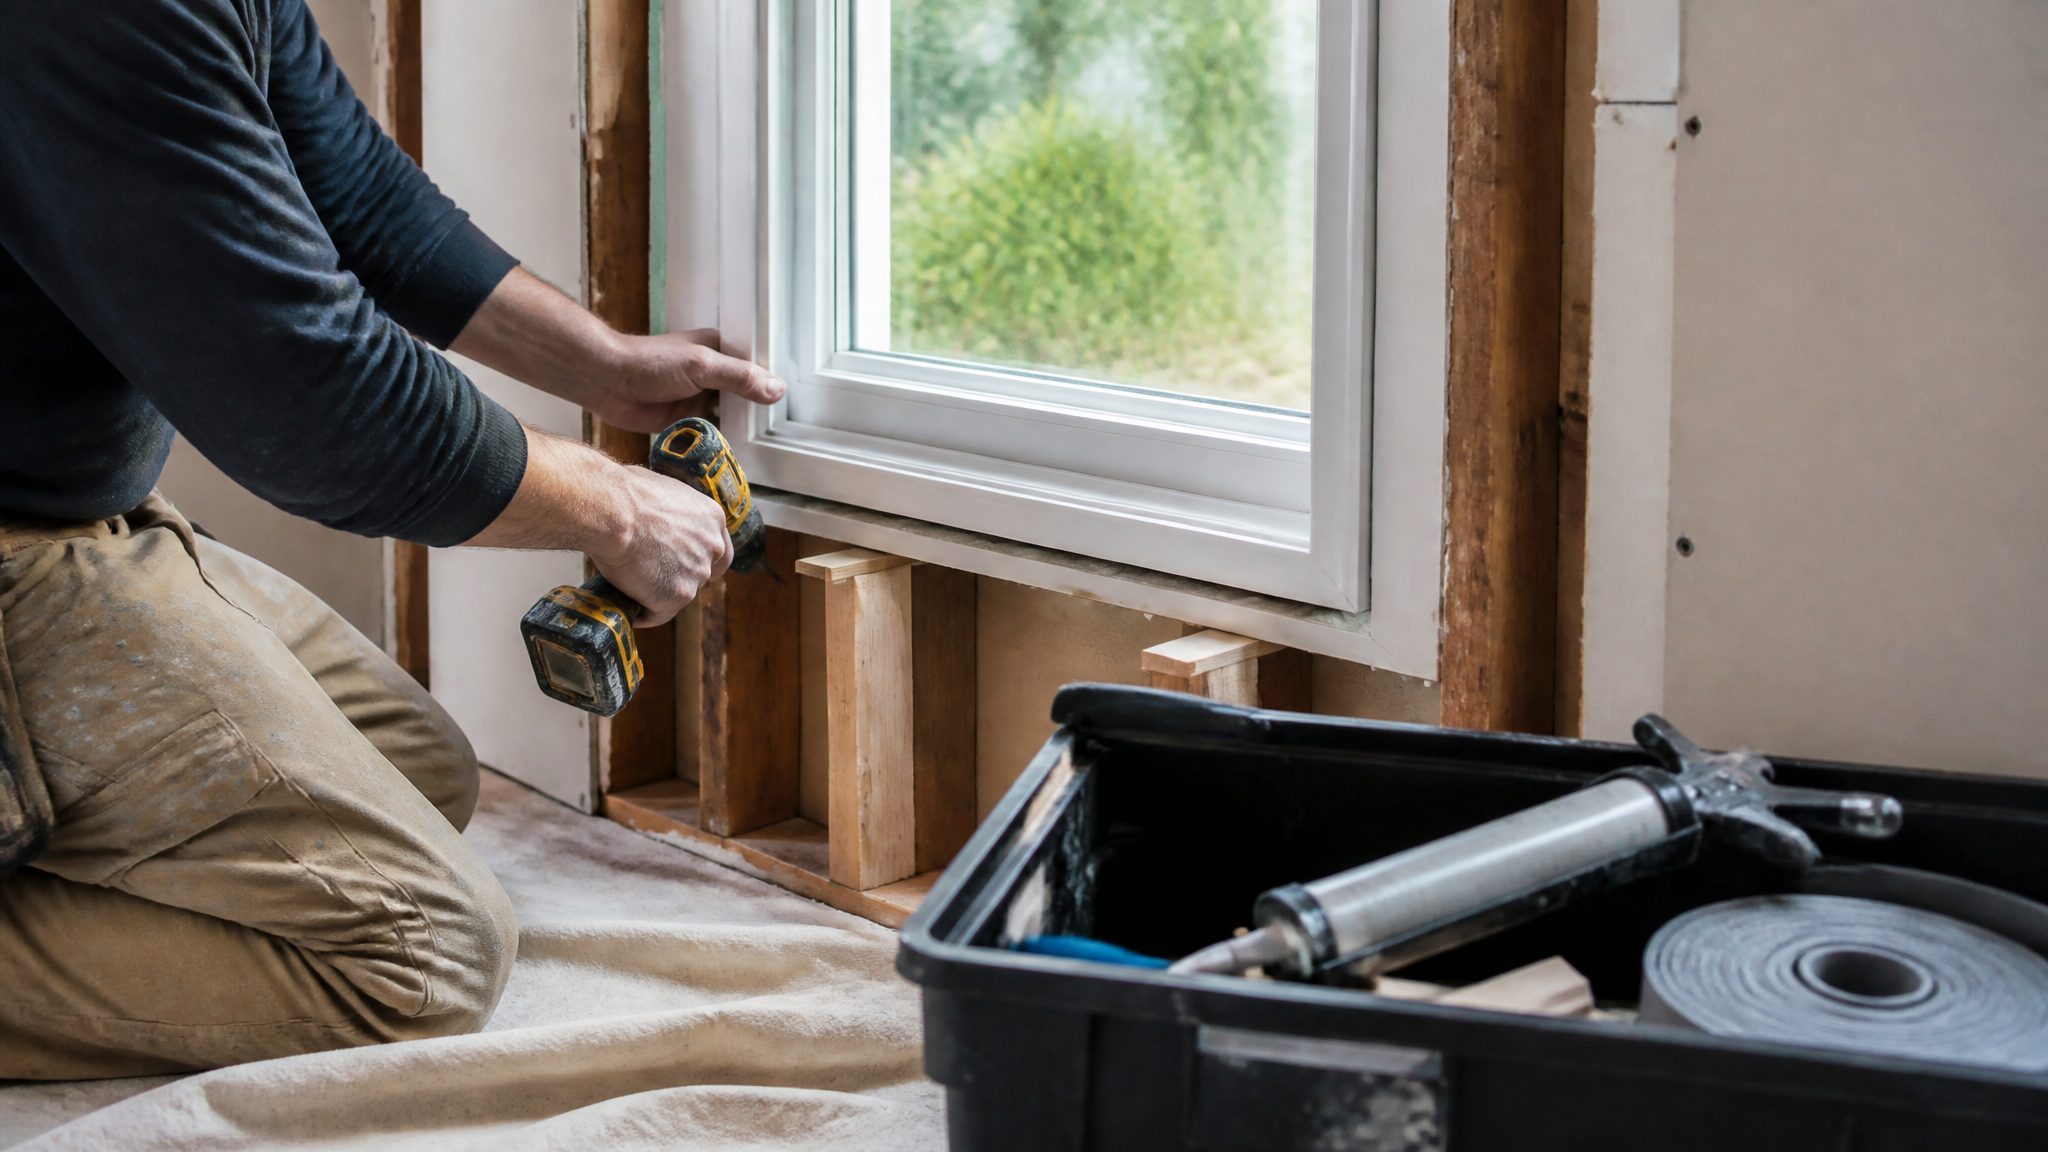
How to Measure Depth, Sills, Jambs and Hidden Obstructions
Width and height are only two-thirds of the story. The third dimension — depth — and the condition of the surrounding structure decide whether the unit can actually be installed in the opening.
Depth. Measure the depth of the opening from the front face of the wall to the back face — or, for a reveal installation, the depth of the reveal itself. The frame, the glazing bead and any protruding hardware must all fit within this depth. Shallow openings are common in older brick veneer construction and are the usual reason a casement window with a large handle cannot be installed where a sliding window fits perfectly.
Sills. Check the sill for level and slope. A sill that slopes away from the interior (or is designed to be weatherproofed) is good; a flat or inward-sloping sill will pool water against the frame. Note the sill material — timber, masonry or aluminium — because it changes how the bottom gap is flashed and drained.
Jambs and head. Look for the structure behind the plaster. In a timber frame wall, the jambs are studs and the head is a header; in masonry, the jambs are brick or block reveals. The fixing type and the gap required both depend on what the frame will be fixed into. Hollow blockwork, for example, needs different fixings and often a slightly larger gap than solid brick.
Hidden obstructions. Check for services that may run through the opening area — electrical cables, pipes, conduits — and for features on the outside face: eaves, gutters, downpipes, awnings, window hoods, neighbouring walls. A beautiful new awning window is useless if the eave overhang blocks the opening path of the sash. Check the outside as well as the inside: the frame size must clear exterior obstructions, not just fit the interior reveal.
For replacement work, the existing frame itself is an obstruction. Do not copy the old frame's outside dimensions; they include architraves, fixing fins and decades of paint. If you are unsure whether you are measuring the reveal or the structure behind it, ROPO's measuring guide for replacement windows walks through the insert-replacement versus full-frame distinction in detail.
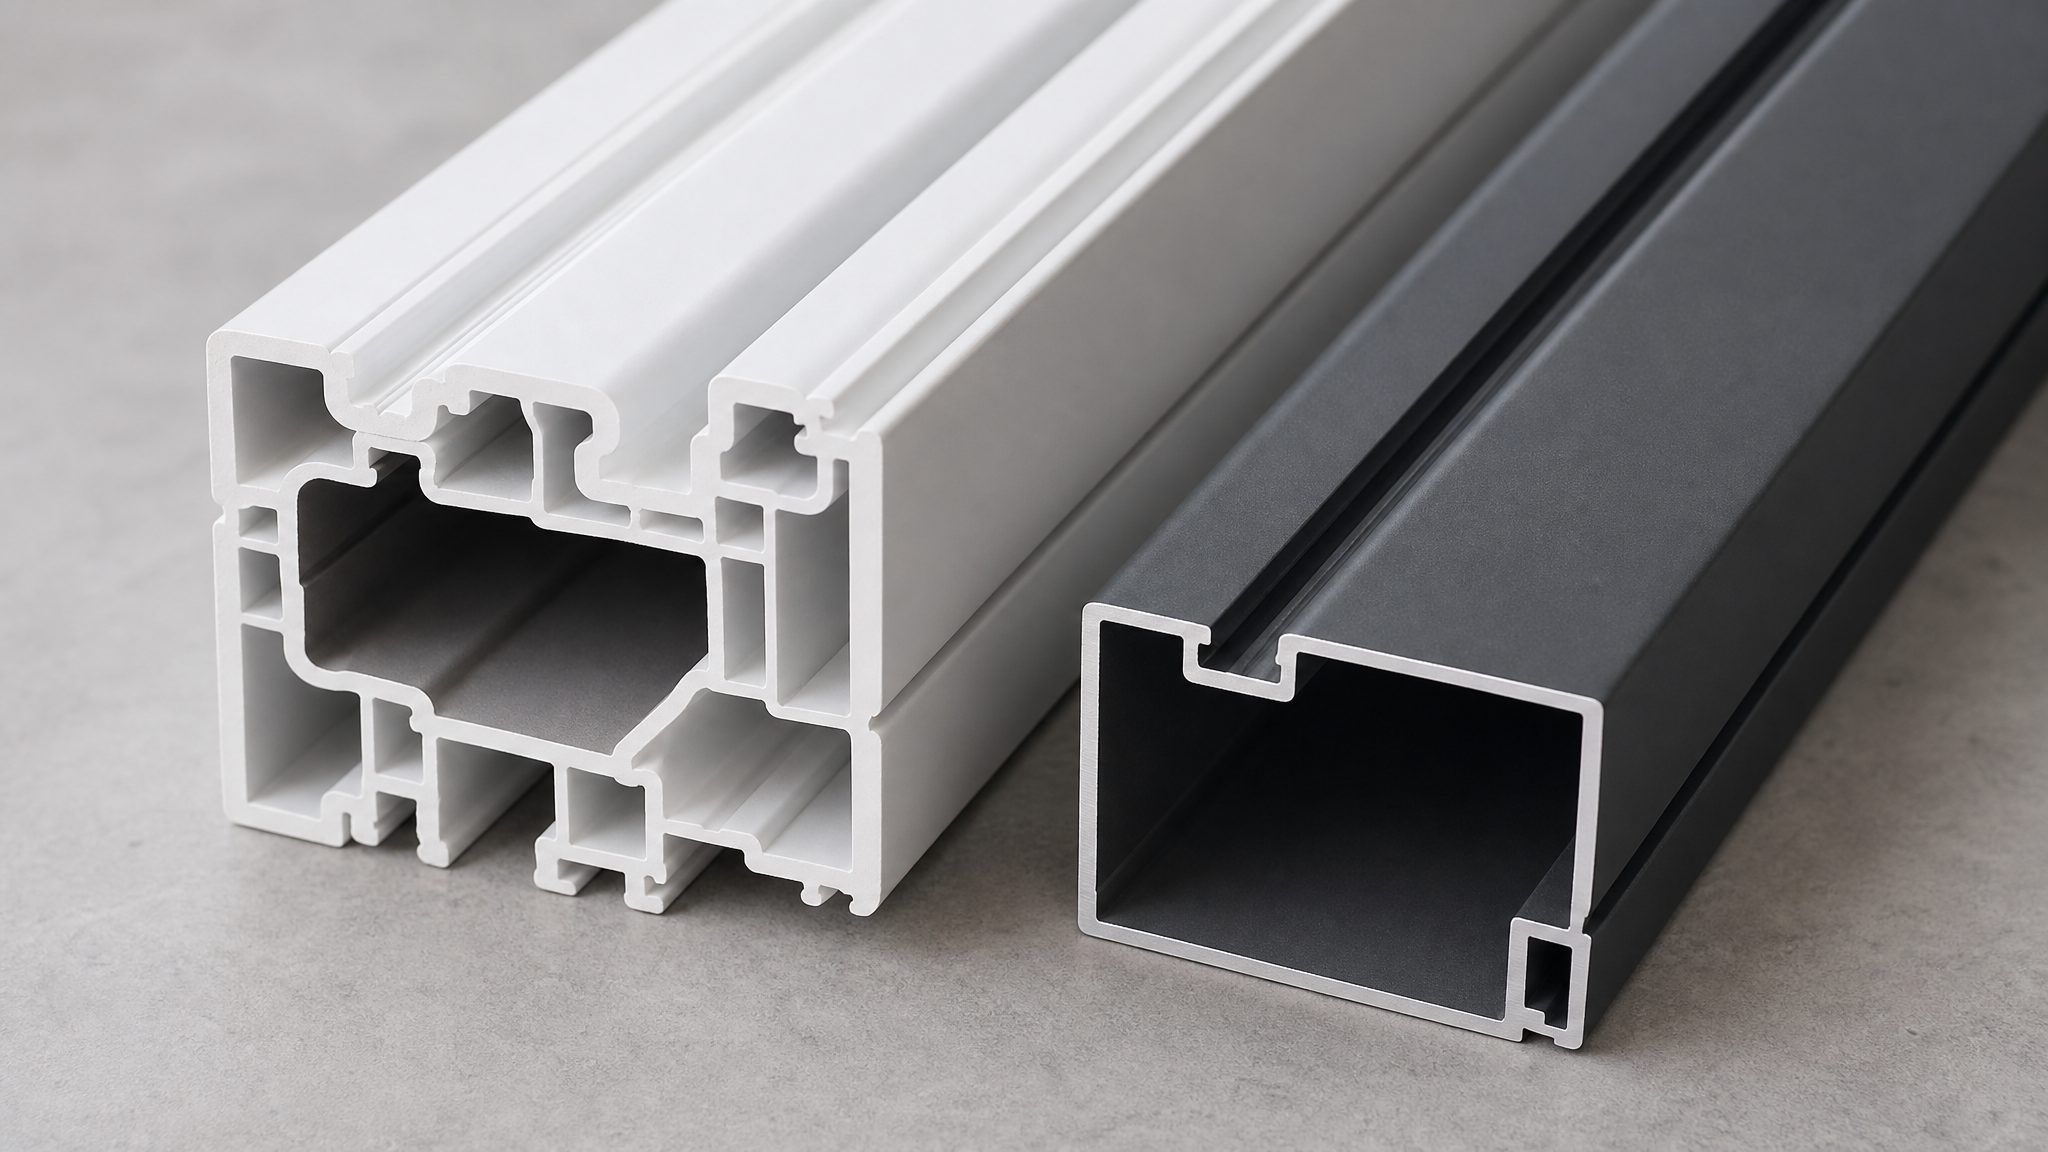
Recommended Installation Gaps for uPVC and Aluminium Windows
The right gap balances all four jobs from earlier — movement, fixing, waterproofing and thermal isolation — and it depends on the frame material, the wall construction and the opening size. The figures below are the typical ranges used across the industry; your installer's specification or the factory's installation drawings are always the authority for a specific project.
| Frame material | Typical perimeter gap (per side) | Notes |
|---|---|---|
| uPVC | 10–15 mm | uPVC expands more with heat; larger gaps also make room for the multi-chamber profile and fixing fins |
| Aluminium (standard) | 8–12 mm | Tighter gap is workable with proper flashing and drainage |
| Aluminium (large spans, dark colours) | 12–20 mm | Bigger units and darker finishes move more; allow for thermal movement and deflection |
| Doors (all) | 10–15 mm per side, with the threshold gap set to floor level | Floor tolerances and levelling feet need room; never order a door to the exact opening height |
Two rules apply on top of these ranges. First, the gap is measured per side — a 1000 mm opening with 12 mm gaps each side takes a frame of 976 mm, not 988 mm. Second, if the opening is out of square by more than the gap allowance, the frame will bind at the tight corner; either true up the opening or add the difference to the gap on the affected side. When in doubt, send the raw measurements to the factory rather than your own deduction — manufacturers like ROPO will calculate the deduction against their own installation drawings, which is safer than a self-computed frame size.
What Size to Send the Factory When Ordering Custom Windows
Manufacturers build to the finished frame size, but they need the opening measurements to determine it. When you order custom windows or doors from a factory like ROPO, send the following in one message:
- Opening dimensions. The width × height of every opening, taken at the smallest measurement, with a note of which plane you measured (reveal, structural opening or finished floor for doors).
- Squareness readings. The two diagonal measurements and the depth of the opening, so the factory can see if the unit needs adjusting or the opening needs truing.
- Wall construction. Timber frame, brick veneer, solid brick, blockwork or rendered masonry — it changes the fixing schedule and the recommended gap.
- Installation type. New build, full-frame replacement, or insert replacement into an existing frame.
- Frame material and colour. uPVC or aluminium, and whether the profile is dark-coloured, so the factory can apply the right movement allowance.
Then let the factory confirm the finished frame size back to you before you pay. If the quoted frame size plus a sensible gap does not fit your recorded opening, that is the moment to catch the error — not when the crate arrives at the site. ROPO's Quick Quote form collects exactly these fields, and the prices explained page shows how the quoted sizes translate into cost. For large or complex projects, sending a dimensioned sketch with the order is standard practice and avoids most miscommunication with a factory on the other side of the world.
About ROPO Windows
ROPO Windows is a custom window and door manufacturer based in Fuzhou, Fujian Province, China, with more than 16 years of experience in the industry. The company designs and produces uPVC and aluminium windows and doors for residential and commercial projects, shipping to clients in more than 100 countries and regions. Its production team comprises more than 40 workers, 8 engineers, 2 dedicated quality inspectors and 6 professional consultants, and every export order is covered by Trade Assurance on product quality, on-time shipment and payment.
For the Australian and New Zealand markets, ROPO's windows and doors are engineered to comply with AS2047 and NZS4211, with CodeMark certification for New Zealand and Miami-Dade approval available for hurricane-rated projects. All products carry a 10-year product warranty, and the terms are published on the Warranty page so there is no ambiguity about what is covered. A full company overview is on the About Us page, and the factory page shows the production environment behind the measurements.

Custom Production Process
Ordering custom windows starts with the numbers you record in this guide, and the production process is built around confirming them before anything is cut. When an order reaches the factory, the engineering team reviews the opening measurements against the requested frame size, applies the standard gap deduction for the chosen material, and confirms the final dimensions back to you in the order acknowledgement — so a measurement error is caught at the drawing stage, not on the production line.
Once confirmed, every order passes through a 5-step quality check: order review, raw material inspection, semi-finished product inspection, finished product inspection, and a final inspection report before packing. Frames are cut, welded or machined to the confirmed dimensions with production tolerances far tighter than the installation gap, and each unit is labelled so it can be traced to its order and its opening on site. The result is that the frame you receive matches the size you confirmed, millimetre for millimetre — provided the opening was measured the way this guide describes.
Packaging and Shipping
A custom window that fits its opening perfectly still has to survive the journey to the site. ROPO packs uPVC and aluminium frames with protective corner protection, film wrapping and sturdy outer cartons, with glass units separated and cushioned to prevent edge damage in transit. Every crate is built to the frame sizes confirmed in the order, so the packaging footprint matches the units inside — oversized crates are avoided because they waste freight, and undersized crates are never an option.
Shipments leave from the ports of Fuzhou and Xiamen by sea, in full container loads (FCL) or less-than-container loads (LCL), with the packing list tied to the order's dimensioned sketch so the installer can match each unit to its opening on arrival. The detailed packing process is covered in ROPO's packaging guide. When your units arrive, open the crates before the driver leaves, check the frame sizes against your order, and photograph any damage — that simple habit, together with the measurements from this guide, protects both your opening and your investment.
Have an opening to measure or a project to plan? Send the numbers through the Quick Quote form, or send an inquiry with your dimensioned sketch — the ROPO team will confirm the finished frame sizes before you commit to anything.